Mai Theme supports 10 widget areas, plus as many footer widgets as are configured in Theme Settings. The home page in the Mai Theme demo doesn’t use all 10 widget areas – only the widget areas in use are displayed
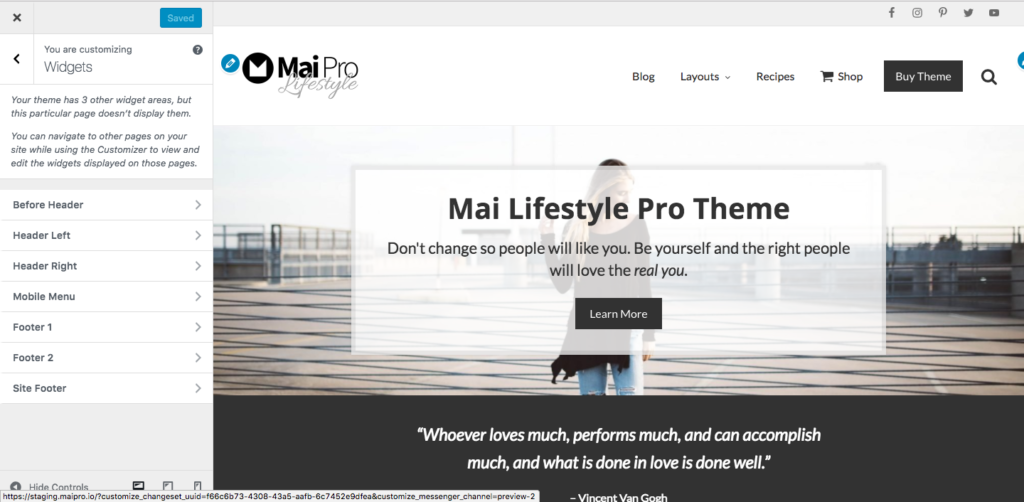
NOTE: Genesis logic allows only 1 additional footer widgets to become available at a time. Once a widget is saved, another will appear until the total number configured in Theme Settings.
Click on any available widget area to open a new panel where you can add and configure widgets.
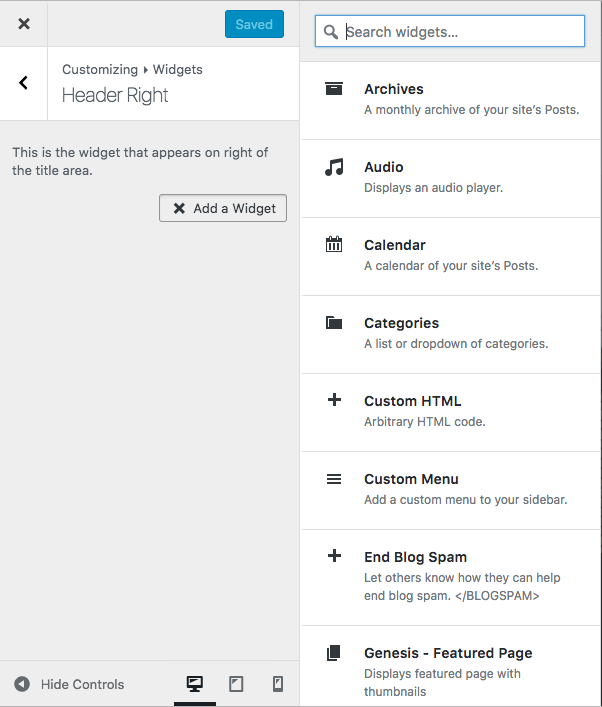
In the new, open panel, click Add a Widget to display the available widgets that you can add to this widget area.
You’ll see a list of all the available widgets you can add to the available widget areas. You can click directly on any widget you’d like to add. Scroll down the list or use the Search widgets box at the top to locate the one you’d like to use.
After selecting and configuring a widget, click Save & Publish to preserve your changes. You can also click Click and drag widgets to rearrange or move to a new widget area. Click Done when finished and then click Save & Publish to preserve your changes
Consult A Beginner’s Guide to the Genesis Framework for full instruction on the use of widgets.
Related YouTube videos:
Maitheme Demo – Setting up the Primary Sidebar
How To Change The Number Of Footer Widget Areas In Genesis Mai Pro Child Theme
How To Add Social Icons Above The Header In Genesis Mai Pro Child Theme